
Skip to content

Custom specifications · Personal quotation

Custom Bottle & Jar LabelsA label that belongs on your product.

Discuss bottle and jar labels for your brand, from dry shelf display to more demanding handling conditions. Start with the container, label area and artwork.

Your specification. Your artwork. A clear quotation.

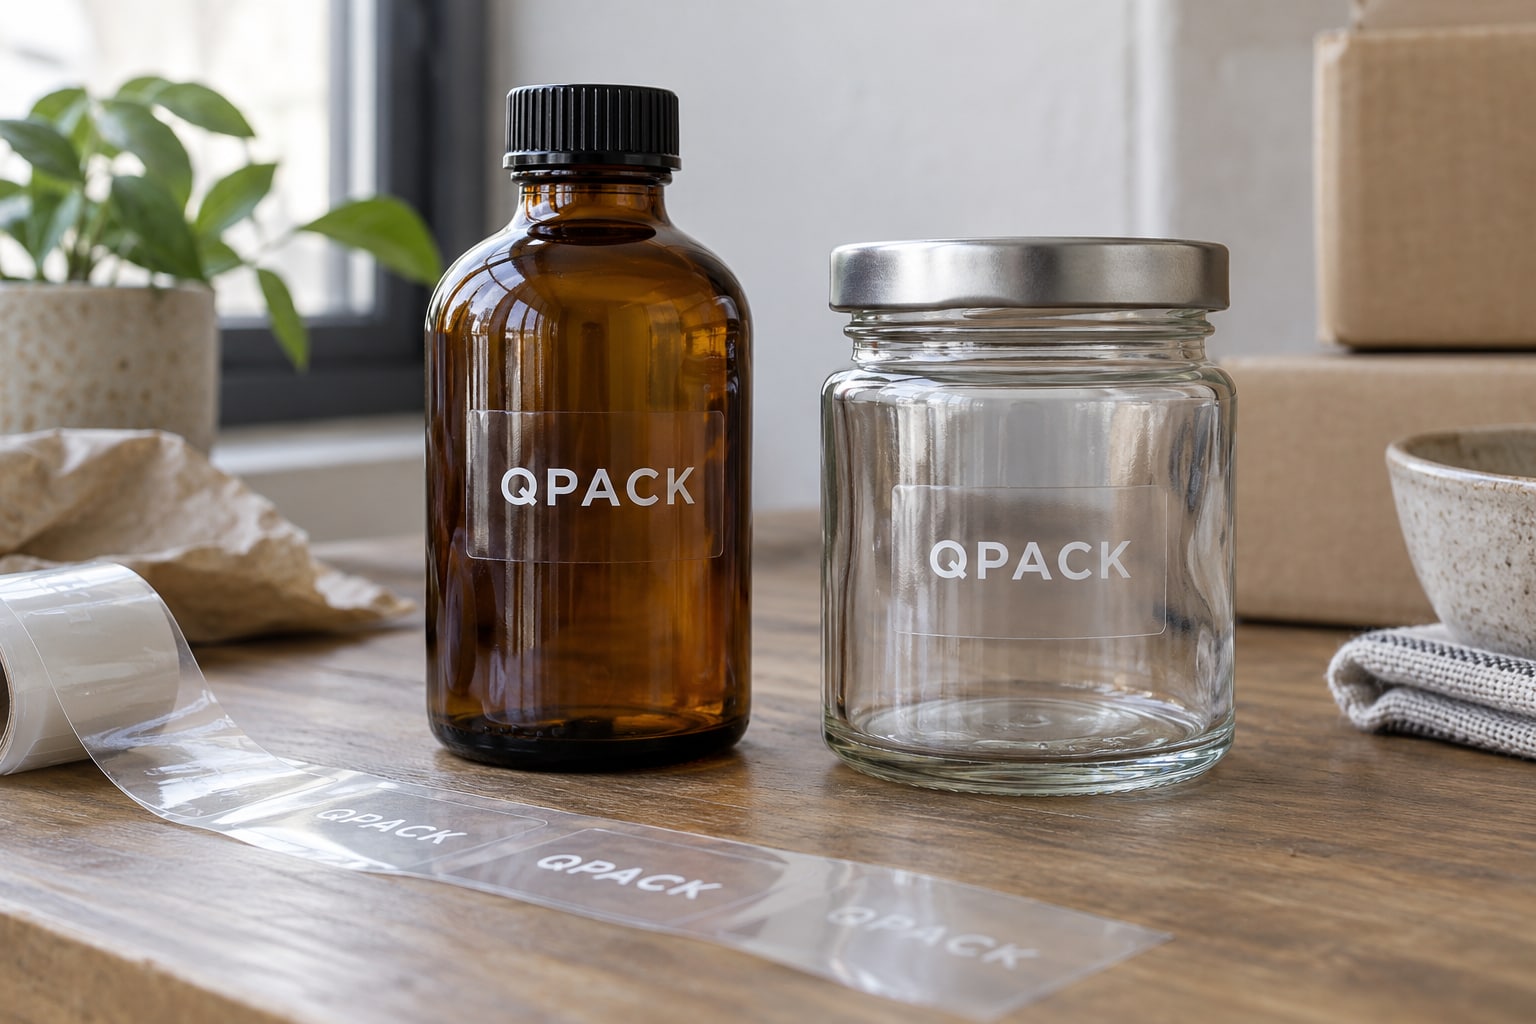
Custom Bottle & Jar Labels packaging example
Illustrative label concept; roll configuration is agreed separately

Consider the details

Measure the container before drawing the label.

A jar may look straight-sided but still have a slight taper, shoulder or textured area that affects the fit. Measure the usable label panel and note any curve that could cause a rectangular label to wrinkle. A wraparound design also needs a deliberate gap or overlap.

Send the container dimensions, material and intended conditions. We will discuss the shape, adhesive and finish around that surface, with your final copy and artwork included in the proof.

A closer look

Details worth deciding early

01

Find the usable panel

Keep the label clear of shoulders, seams and moulded details unless the construction has been designed for them. On a tapered container, the outline may need to account for the change in diameter. A flat artwork view cannot show every fitting issue.

Make a paper mock-up at the proposed size and place it on the actual container. This simple check helps you judge the visual proportions and whether the label covers the intended area. Adhesive and durability still need testing with the proposed material.

02

Describe the product environment

Tell us whether the label will stay on a dry shelf, be handled with damp hands, sit in a fridge or encounter oils and cleaning products. Mention when the label is applied: a cold or damp container can present a different challenge from a clean room-temperature one.

Ask for a construction appropriate to those conditions. Water resistance is a property of the complete label system, not a promise that follows automatically from the words vinyl or plastic.

03

Make information easy to find

A strong hierarchy gives the product name room while keeping supporting information legible. Plan enough space for ingredients, directions, batch details or other copy relevant to your product. Supply the final wording for approval and seek specialist advice where a regulated product requires it.

Barcodes and QR codes need suitable size, contrast and clear space. Test them at the finished size and on the curved container. A code that scans on a flat proof may behave differently once wrapped around a small bottle.

04

Choose the finish around the appearance

Opaque paper or film creates a solid background; a clear construction lets more of the container show through. Clear labels may need white ink behind selected areas for contrast. Metallic details can create another effect, but should not compromise essential information.

Compare the label against the filled container, not only the empty one. The product colour, glass tint and background can all change how a transparent or lightly printed design appears.

05

Plan a wraparound label carefully

Measure the intended label panel around the container and decide whether the design will leave a gap or overlap. Do not use the widest circumference of the container if the label sits on a narrower or tapered section. A drawing with the label position marked can save confusion.

For a front-and-back set, confirm both sizes and the visual relationship between them. Consider which panel carries the brand name and which holds the supporting information. Check that the customer can read each panel without essential text disappearing too far around the curve.

A paper mock-up is useful for proportions and placement. It is not a substitute for testing the actual label material and adhesive, but it can expose an unsuitable size before the artwork and cutting layout are finalised.

06

Check the application routine

Surface cleanliness and application conditions can affect adhesion. Describe whether the container is labelled before or after filling, whether it is cold and whether moisture is present. A label that works on a clean, dry sample may behave differently in the production routine.

Ask for the application guidance for the proposed adhesive. That may include conditions for applying the label and the time needed before it is exposed to more demanding use. Follow the supplied guidance rather than assuming a general rule applies to every material.

If labels are applied by hand, consider alignment marks or a simple fixture to make placement consistent. If they are machine applied, provide the roll specification as well as the container dimensions. The label needs to work with the equipment and the surface together.

07

Treat clear, white and metallic effects differently

A clear label can make the design appear closer to the container, but it does not make the print independent of the background. The colour of the bottle, the product inside and the lighting all affect the result. Discuss white ink behind selected areas if the design needs an opaque base.

A metallic detail may be a specific foil or another printing construction. Explain the appearance you want and ask what will actually be supplied. Very fine text and dense information may need a different treatment from a decorative brand mark.

Review the proof with the intended container colour in mind. If you have several product colours or bottle finishes, one clear-label artwork may not provide equal contrast on all of them. List the variants so the proposed treatment can be checked for each.

08

Keep information changes under control

A new ingredient, web address, instruction or product size may require a label artwork change. Maintain a clear filename and version date for each product. Archive the approved print file so it is easy to identify what was used for a particular run.

If several labels share a common design, check the details that differ rather than assuming the whole set is correct because one proof looks right. Product names, quantities, barcodes and QR destinations deserve individual attention. The final copy should be approved by the person responsible for its accuracy.

Where your product is regulated, obtain the appropriate specialist review of the wording and presentation. Our print discussion can help establish the space and layout; it does not determine the legal requirements for every food, cosmetic or other product.

09

Order around the way stock is used

List the quantities for each label version and explain whether you expect a repeat run or a one-off launch. Separate versions may be consumed at different rates. Ordering the same quantity of every design can leave excess stock of a slower-moving product.

Tell us how you want the labels supplied and packed. Rolls may suit an application line, while sheets or individual pieces may be more convenient for some small runs. Ask for the format, approximate roll or pack quantities and artwork versions to be clear in the quotation.

Retain a sample of the finished label and record the agreed material. When you reorder, mention changes to the container supplier or surface finish as well as artwork changes. A container that looks similar can still present a different adhesion or fitting requirement.

From your brief to the finished result.

  1. 01

    Share your brief

    Send your dimensions, quantity and artwork, or explain what you need help choosing.

  2. 02

    Review the specification

    Confirm the material, construction, proof, price and delivery arrangements before placing your order.

  3. 03

    Prepare for delivery

    Keep a copy of the agreed specification so that future orders are easy to compare and repeat.

Useful answers

Before you choose.

Ask us a question ↗
Can I use a transparent label on a glass bottle?

Yes, a clear construction can be discussed. Consider white ink, contrast and the appearance of the filled bottle before approving the artwork.

Are these suitable for refrigerated jars?

Tell us the temperature, condensation and application conditions. Suitability must be confirmed for the specific material and adhesive.

Do you check the legal wording?

We can discuss print layout, but you should supply and approve accurate product information and obtain any specialist compliance review your product requires.

Let’s make it yours

Tell us what you are planning.

Your size, quantity and intended use give us a useful starting point. Artwork is welcome, but it can follow later.

Start my quote
WhatsApp Us

QPACK · YOUR NEXT PROJECT

Let’s shape your packaging.

Share what you know. We will help with the details.

  1. 01 Your packaging
  2. 02 Your details
Your packaging

Options describe your preferences. We will confirm the material, availability, price and timing in your quotation.

Your contact details

We use these details to respond to your enquiry. Read our privacy policy. No payment is taken.